


We do Everything
Occasions By Bali – Where magic meets tradition!
Decoration
We decorate the way it should be done.
Learn moreCatering
We provide catering service for all types of events
Learn moreEvent Venues
We can help you find the Venues best suited for your event
Learn moreEntertainment
We provide from music systems to display screens
Learn morePhotography
We got your event covered, all you need is to pose good
Learn moreElectronics
You name it, we have it
Learn moreWho We Are?
A Few Words About Us
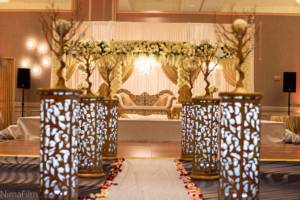
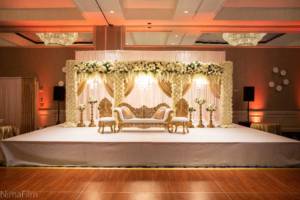
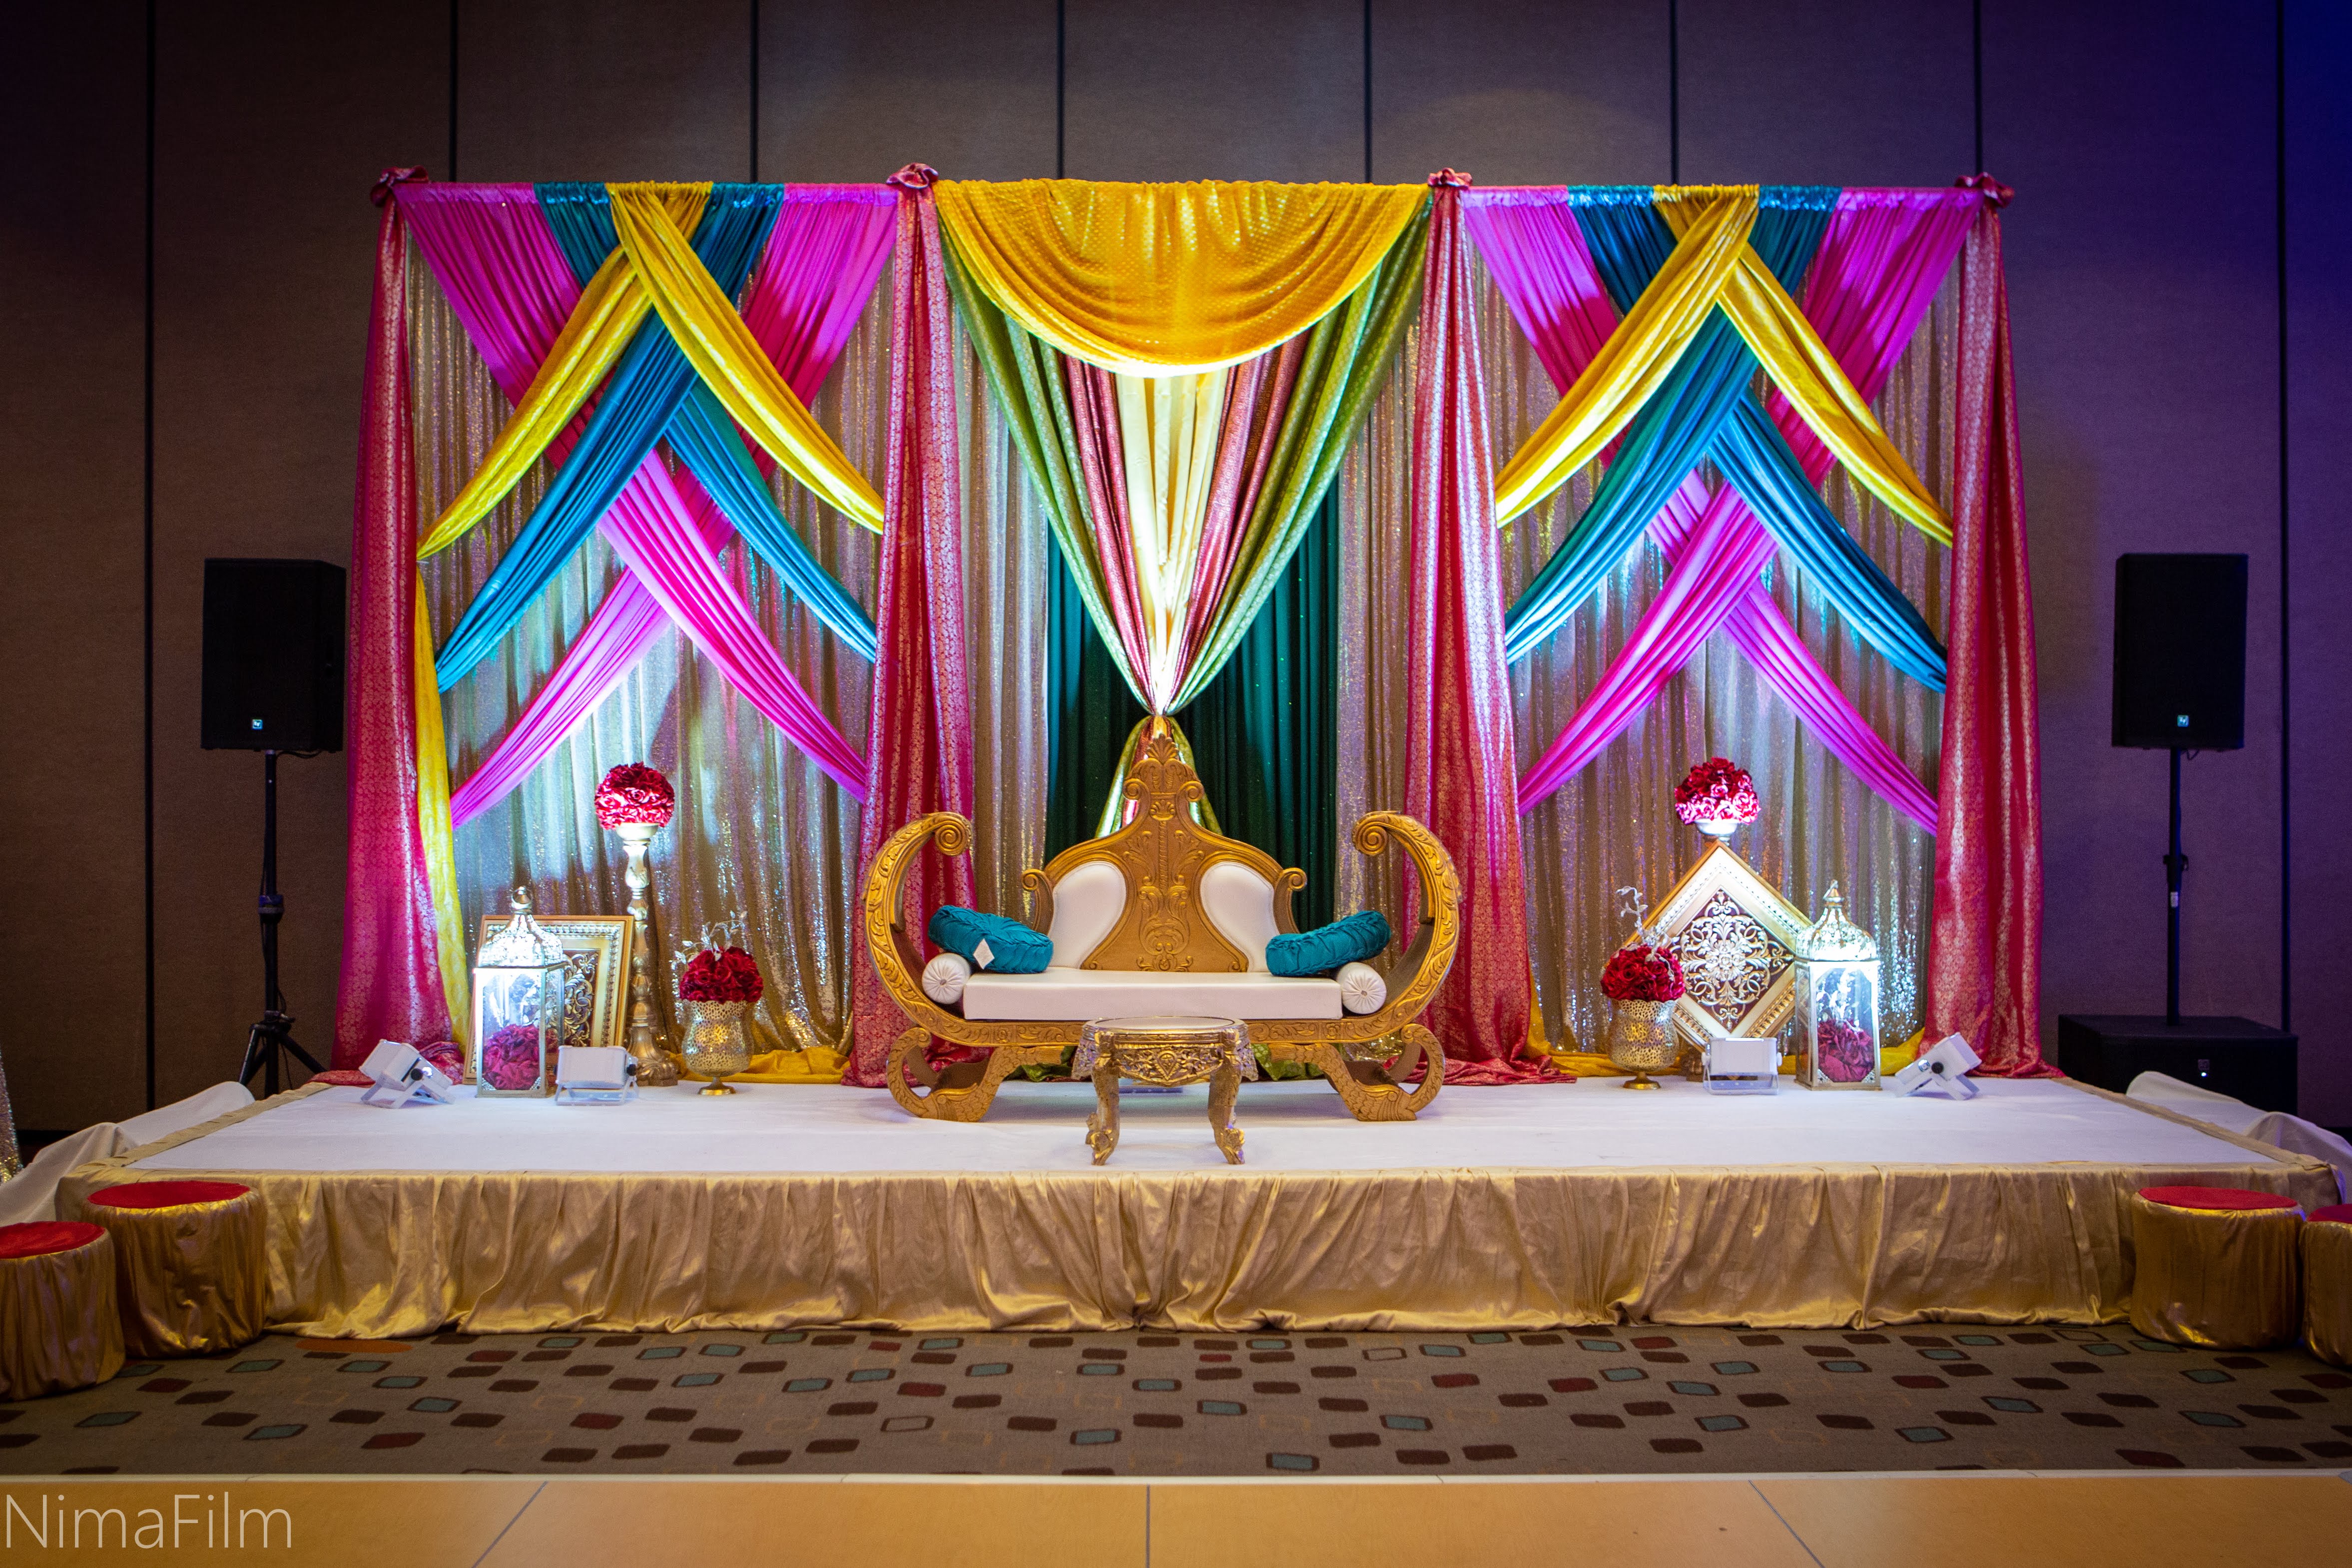
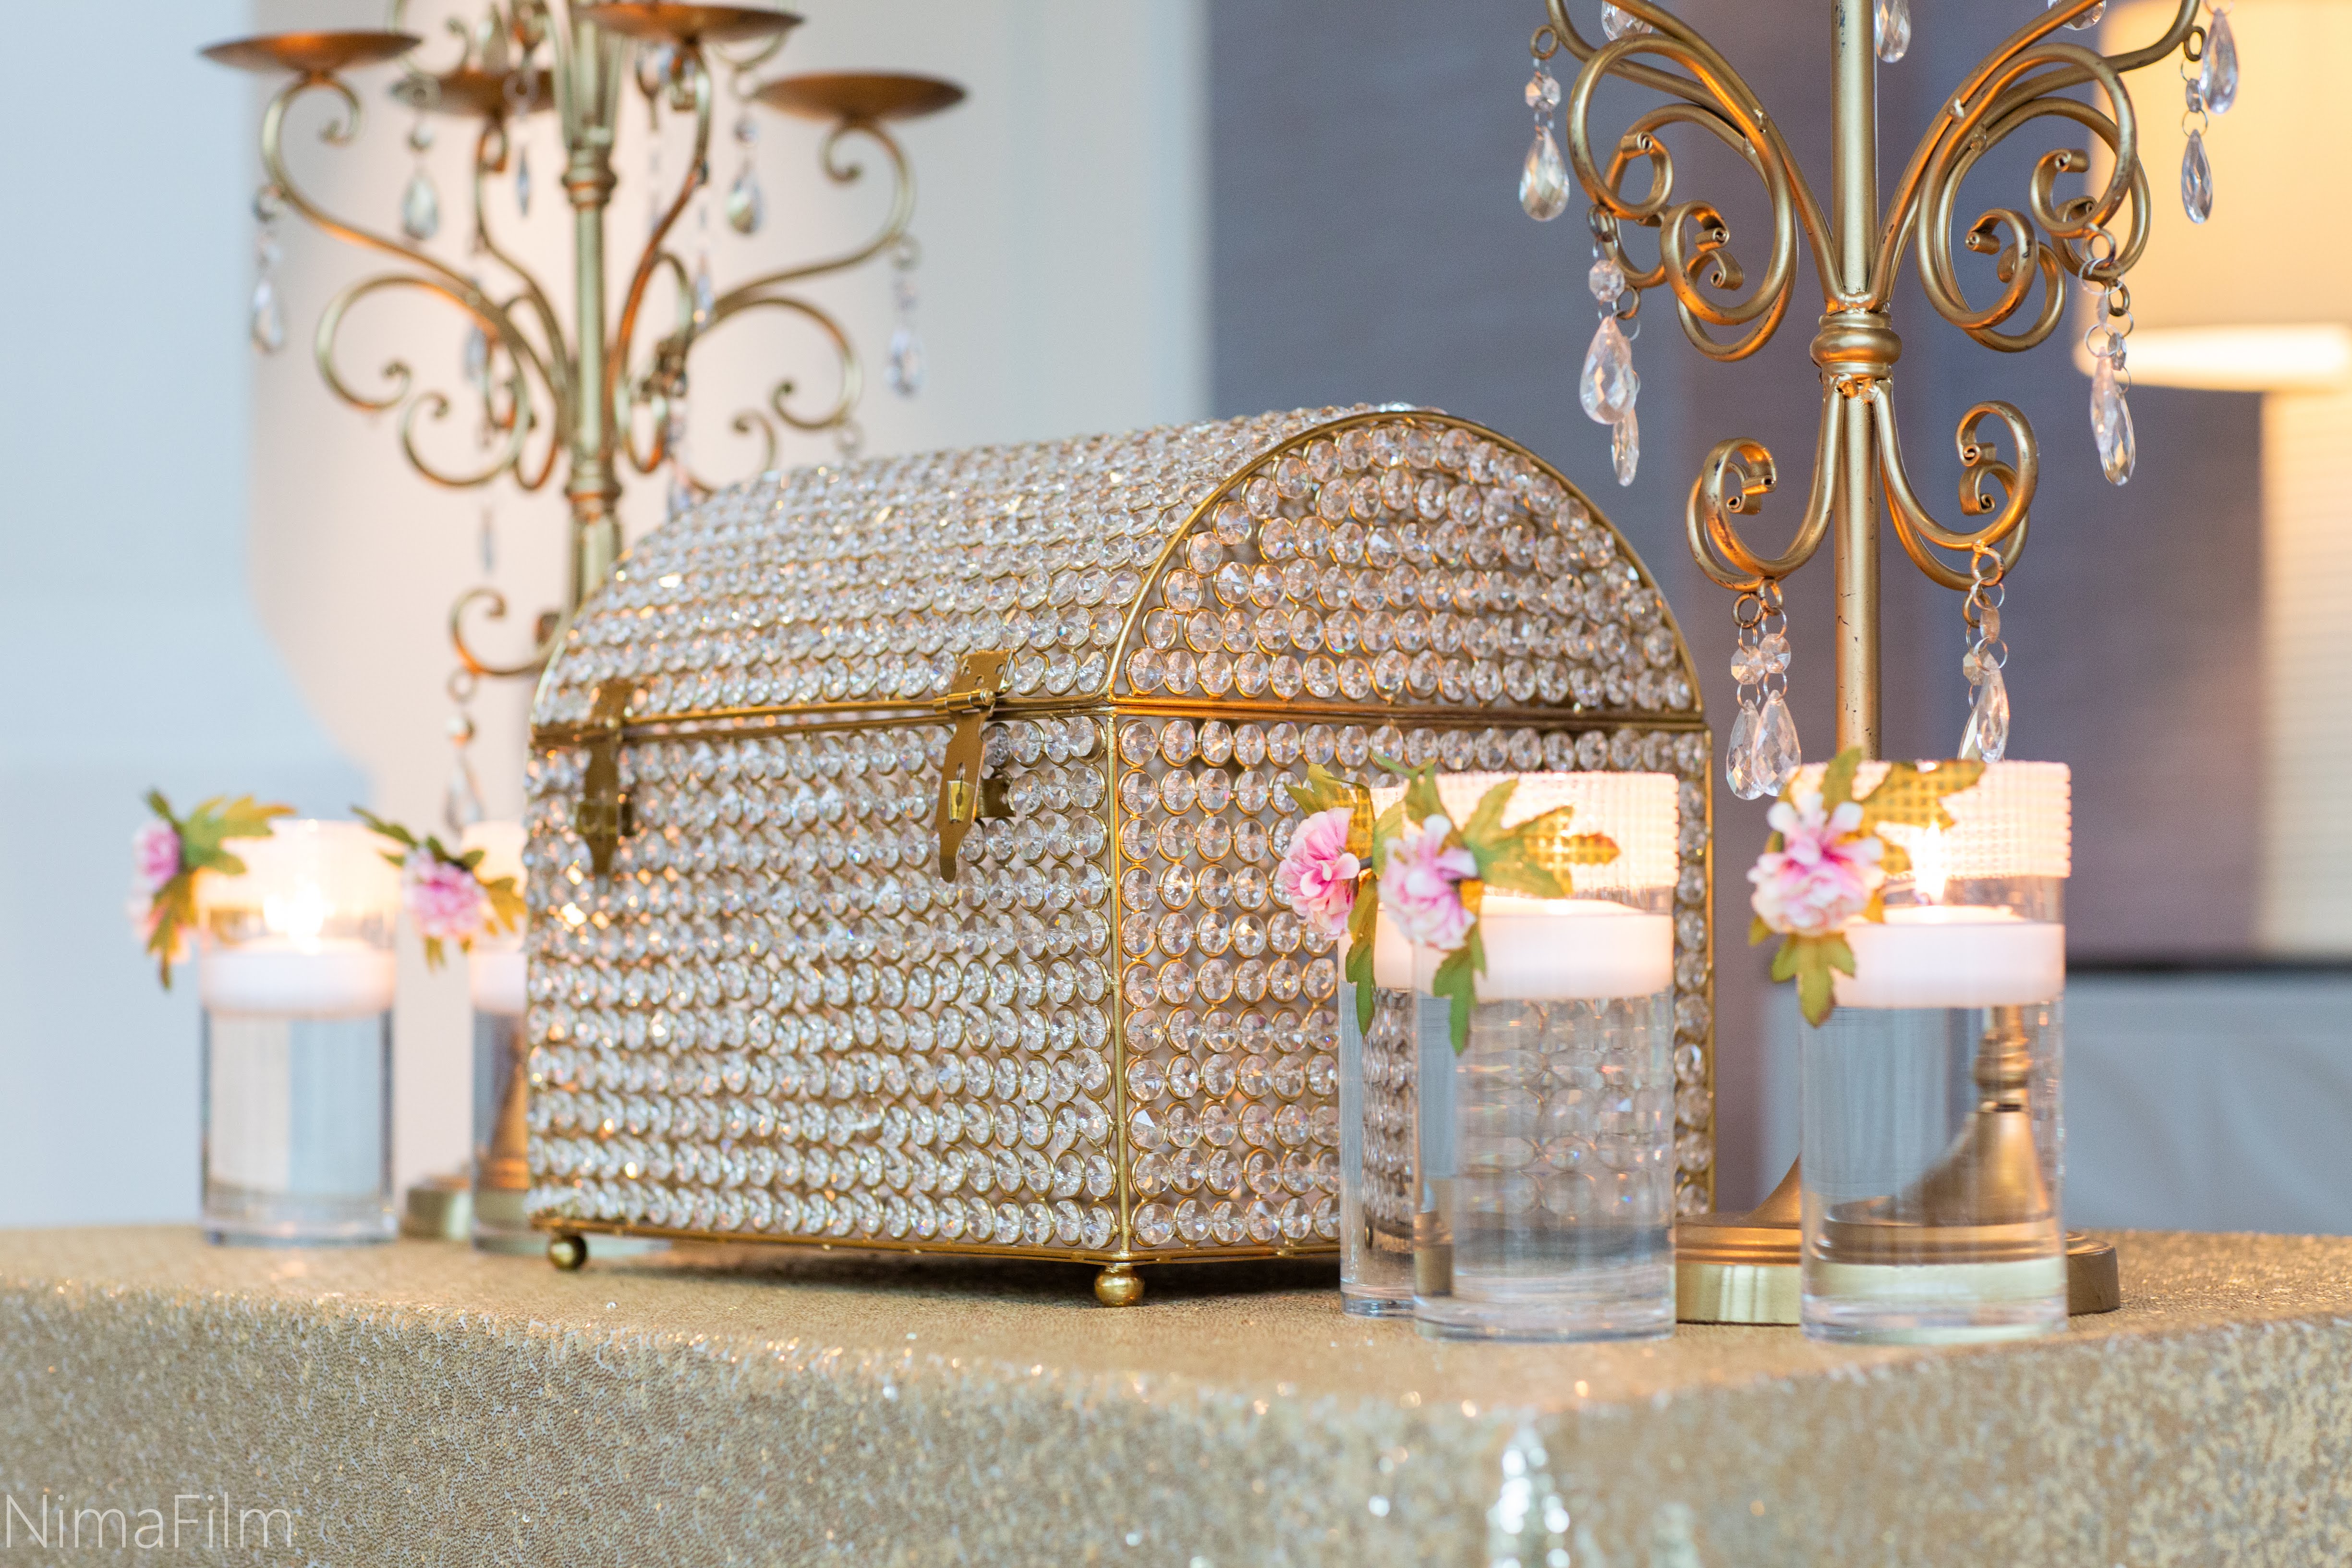
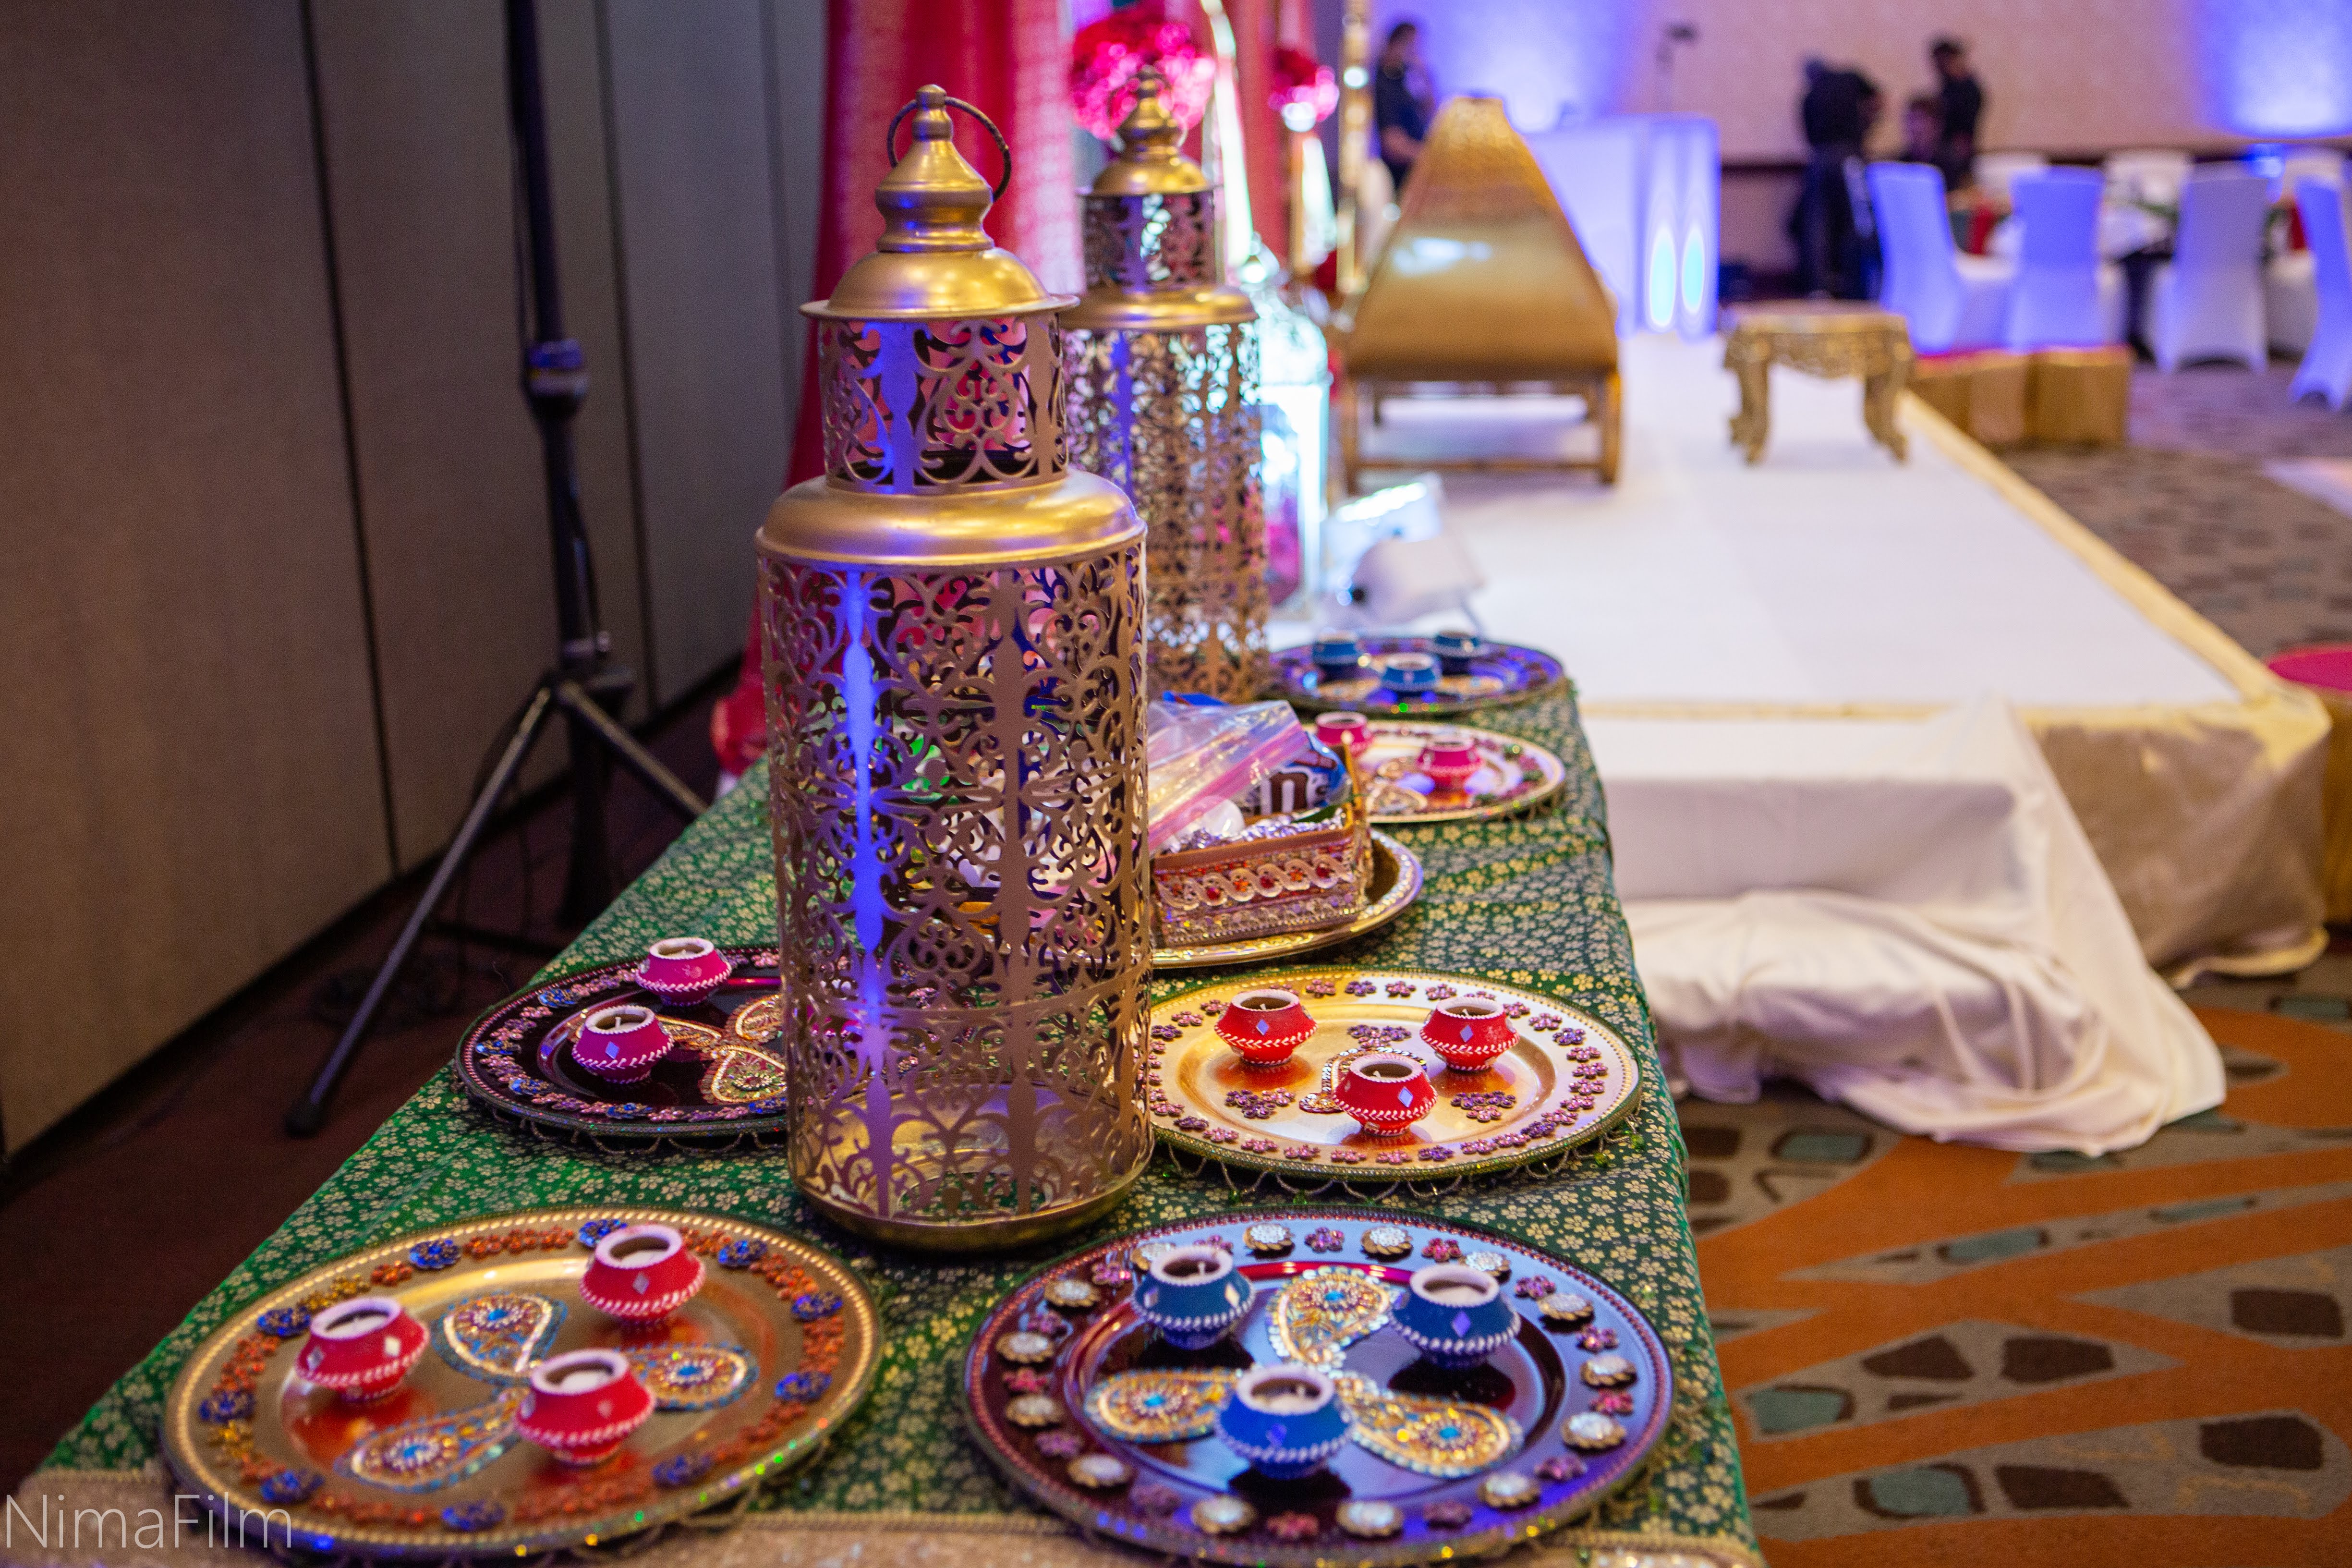
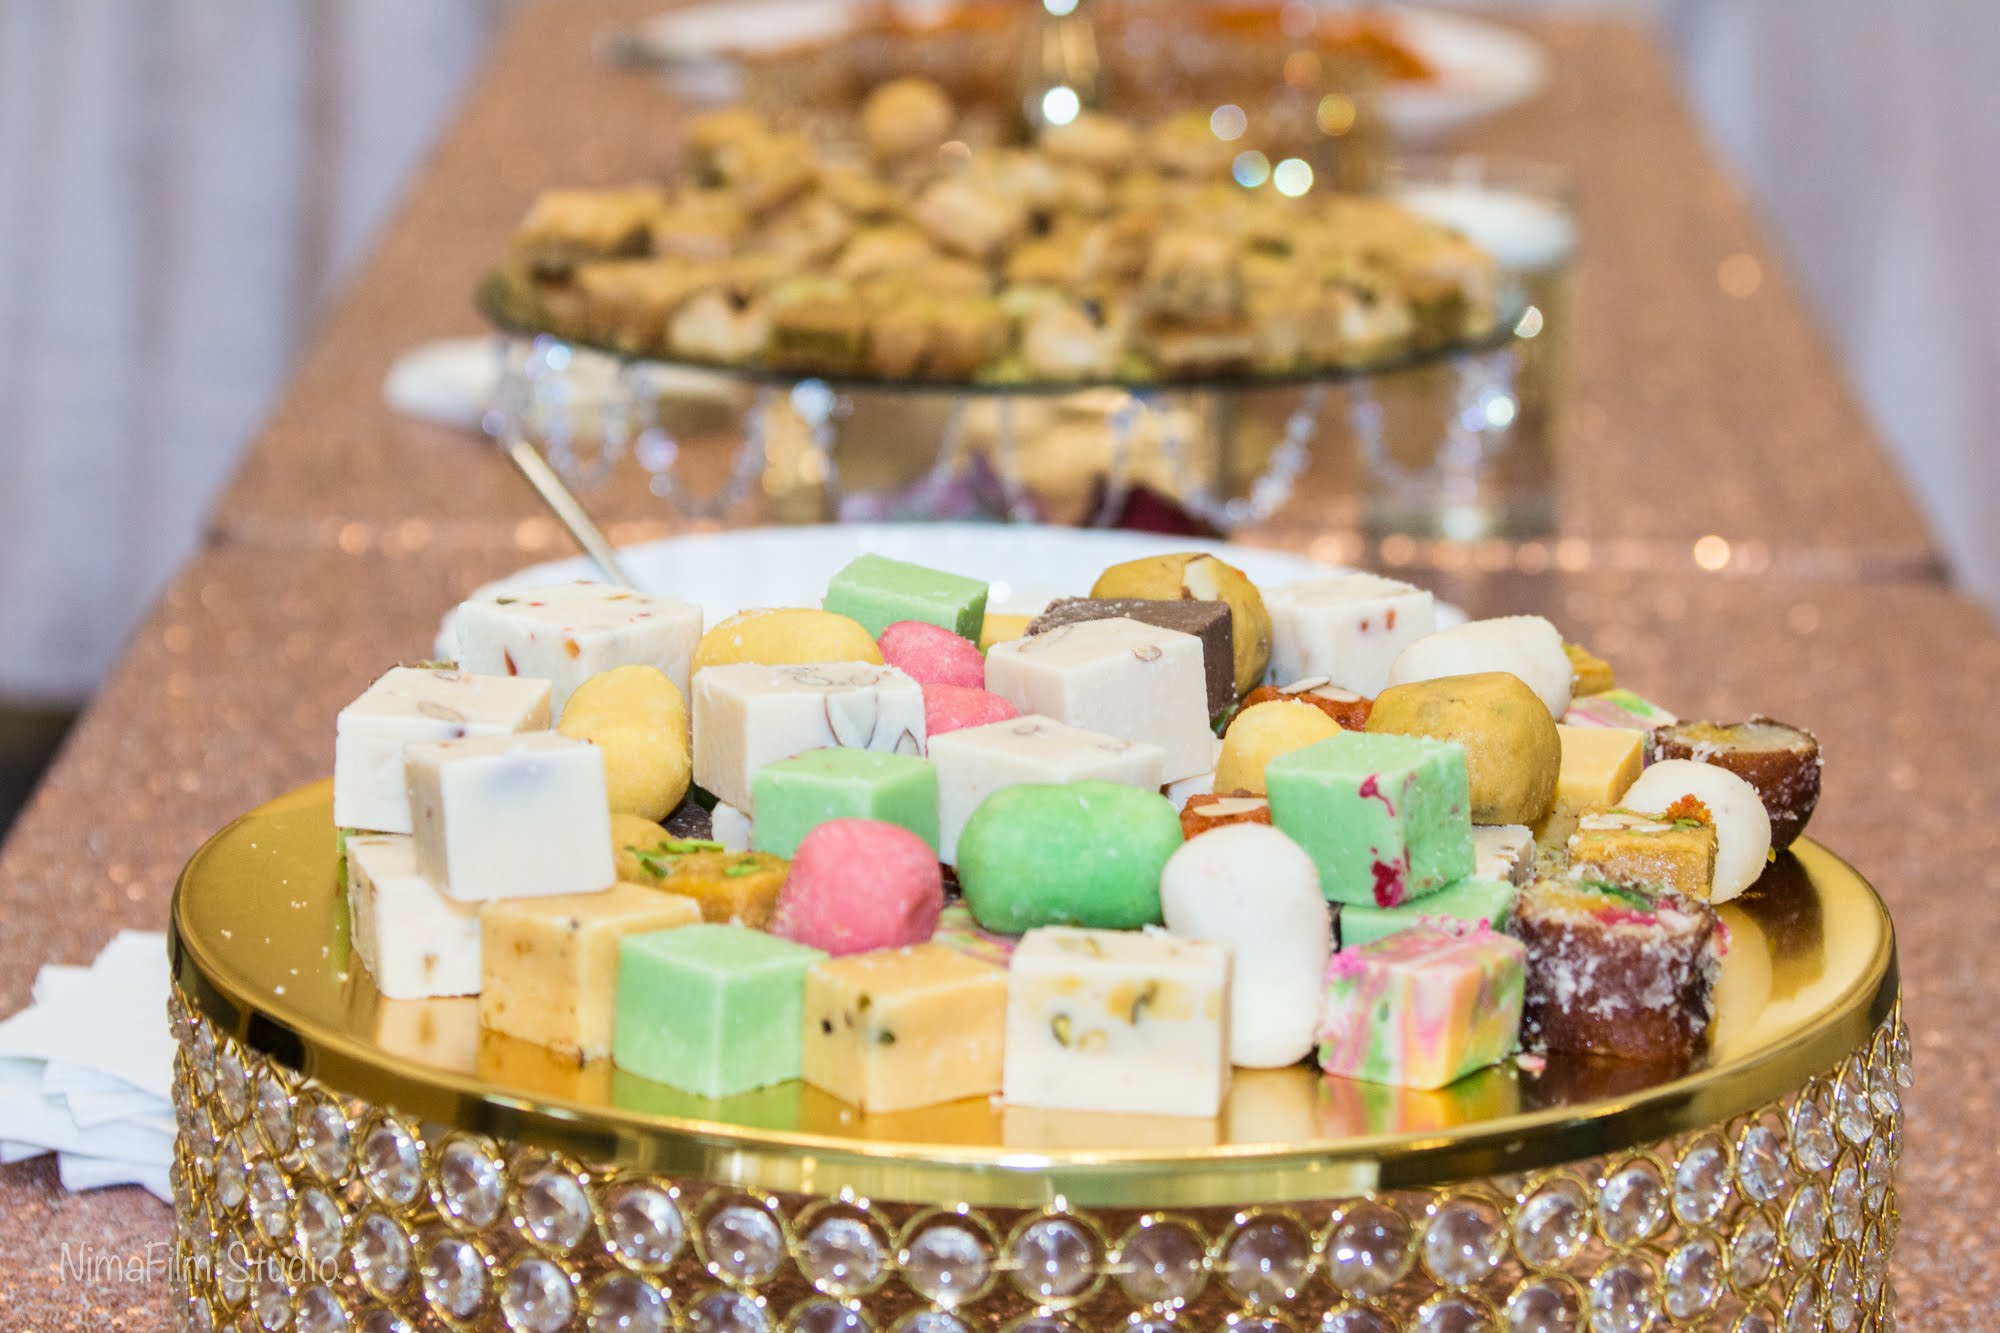
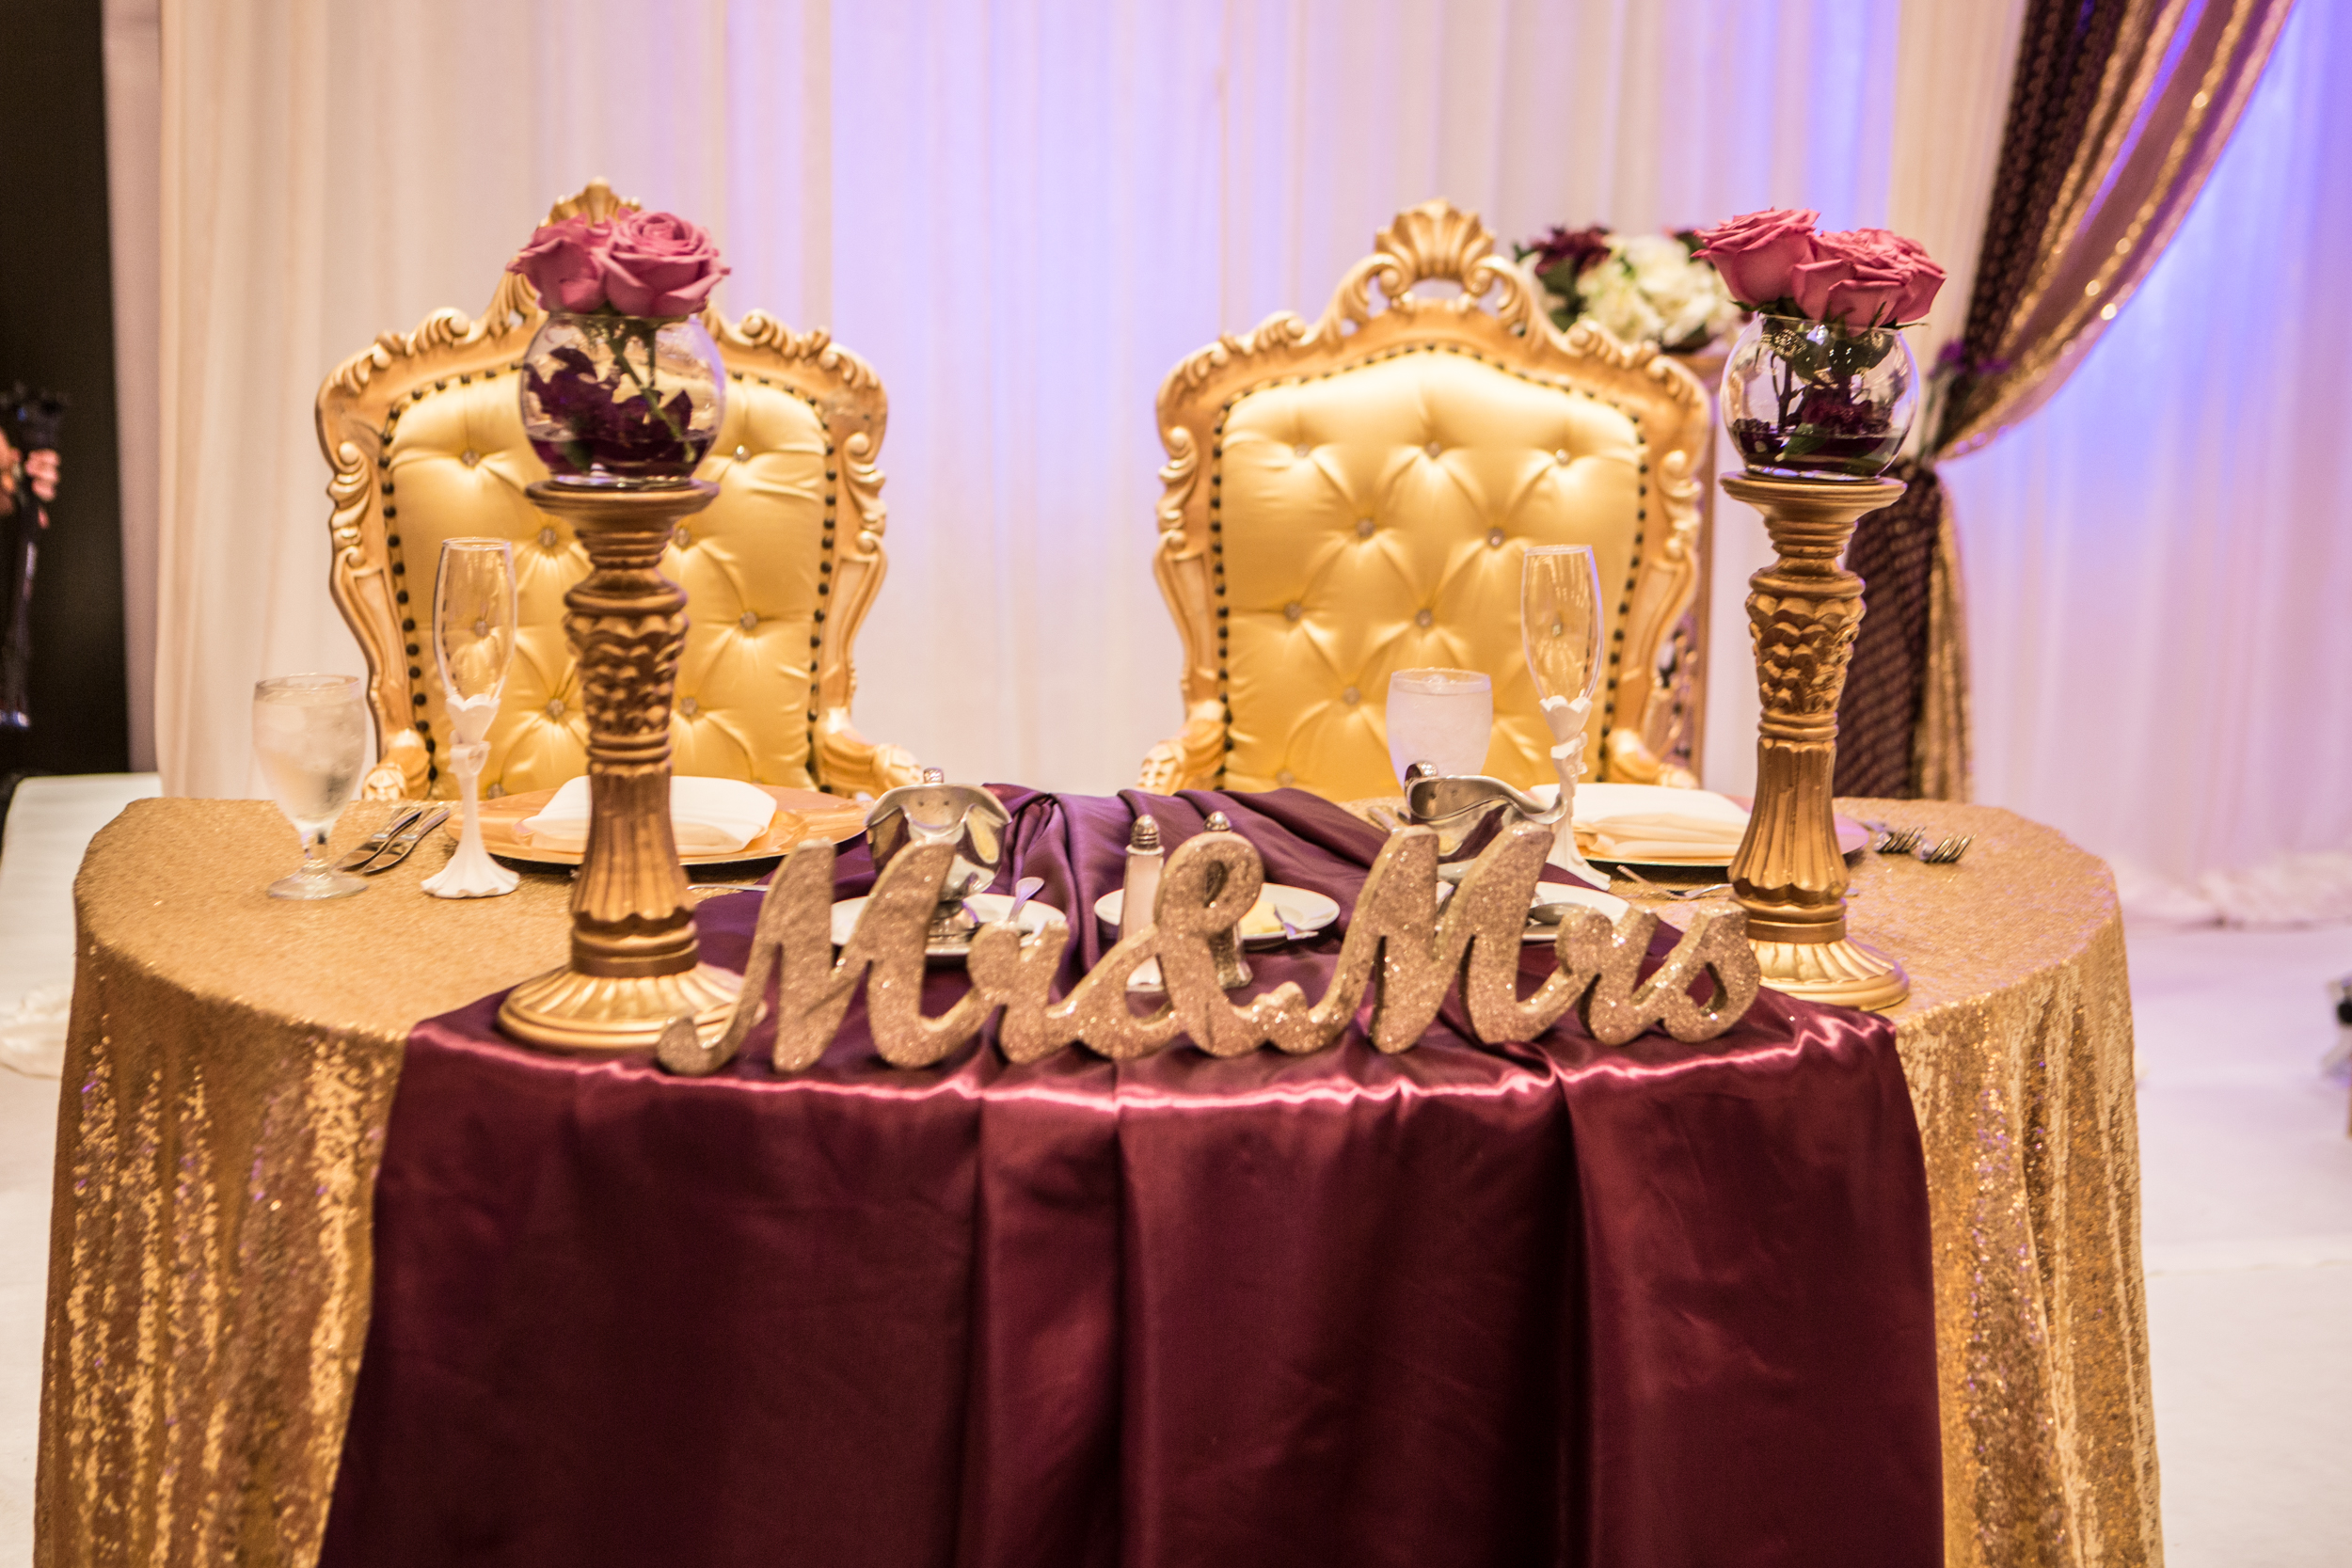
Our Gallery
We are Inspired by Your Happiness
We love it when you are happy. See some of our happy family, yes FAMILY.


Testimonials
What Our Clients Say About Us
The decoration

I loved everything

They decorated my friend's wedding and I liked their work so much that I asked them to decorate my wedding. My wedding was 6 hours North in Panama City Beach, Florida. They came all the way from Tampa. They decorated the entire ceremony and reception, both were extremely beautiful.

Feel Free to Contact Us
occasionsbybali@gmail.com
Monday - Saturday